Baby Proofing a Multi-Level Home: Floor-by-Floor Strategy

Roughly one child every six minutes is treated in a U.S. emergency room for a stair-related injury. That number, drawn from a Nationwide Children’s Hospital analysis of CPSC NEISS data, stopped me cold when I first read it. I have stairs in my house. Two flights of them. And like most parents, I spent the first weeks after my older daughter started crawling thinking a single gate at the bottom was probably enough.
It wasn’t a philosophy. It was a gap.
Multi-level homes create layered hazards that flat apartments simply don’t have. Each floor introduces new furniture configurations, new windows at new heights, new rooms that a curious toddler will find before you do. The mistake most parents make is treating babyproofing as a single project rather than a floor-by-floor audit.
Why Multi-Level Homes Require a Different Approach
A single-story home has one plane of risk. You can stand in the center and see most of it. A two- or three-story home multiplies that risk not just by floor count, but by the fact that children move between levels, often faster than you expect, and hazards on one floor can interact with hazards on another.
My younger daughter once made it from the living room to the upstairs bathroom in the time it took me to sign for a package at the front door. She hadn’t figured out the stairs yet. She had figured out the baby gate latch. These two things are not unrelated: the gate was pressure-mounted, and she had learned to push it hard enough to pop it loose.
That experience taught me something the product descriptions don’t emphasize: the type of gate matters as much as the presence of one. And the hazard inventory on each floor matters as much as the gate itself.
Stair Gates: Hardware vs. Pressure, and Where Each Belongs
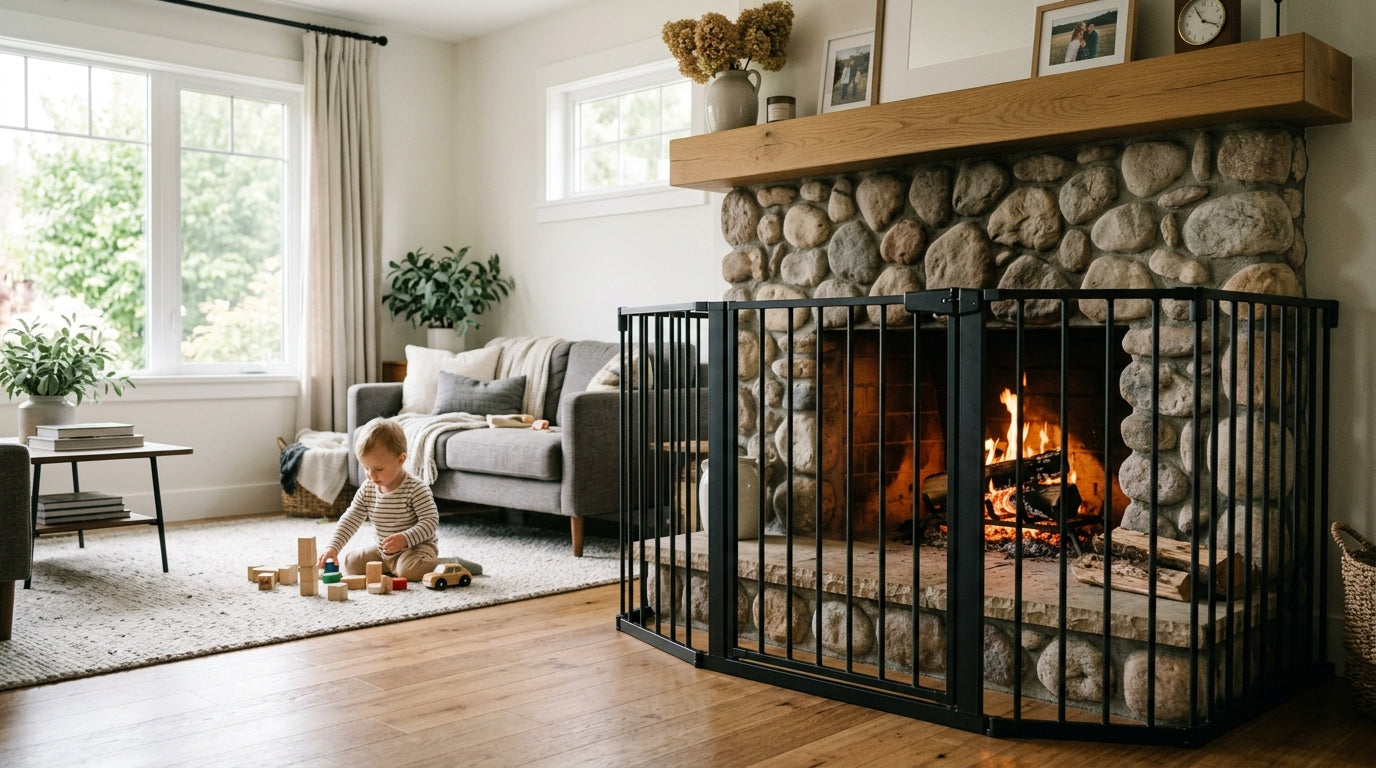
The single most important hardware decision in a multi-level home is which gate goes where. Hardware-mounted gates are anchored directly into wall studs or a solid door frame with screws. They cannot be dislodged by a child pushing, pulling, or climbing on them. Pressure-mounted gates rely on tension between two walls and can be pushed out of position under enough force.
The rule is straightforward. Hardware-mounted gates belong at the top of every staircase. No exceptions. A child who pushes through a pressure gate at the top of the stairs doesn’t just fall into a room. They fall down a flight.
Pressure-mounted gates are acceptable at the bottom of stairs, in doorways, and in open transitions between rooms where a fall from height isn’t the consequence of a gate failure. They’re also easier to install and remove, which makes them useful for temporary configurations. But they are not a substitute for hardware mounting anywhere a fall is possible.
Look for gates certified to ASTM F1004, the federal safety standard for expansion gates and expandable enclosures (16 CFR Part 1239, effective 2021). This is a minimum requirement, not a marketing claim.
Soft-close hinges are worth seeking out. Standard hinges let the gate swing and slam, creating a pinch risk for small fingers and noise at night. Soft-close gates close under controlled tension, reducing both hazards.


Railing Gaps and Vertical Hazards
Stair railings, balusters, and balcony spindles in older homes often have gaps wide enough to be an entrapment risk. The benchmark: crib slats must be no more than 2 3/8 inches (6 cm) apart per CPSC standard 16 CFR 1219. Apply that same spacing principle to any vertical barrier a child can reach.
Get a tape measure. Check every railing in your home, on every floor, including any second-floor hallway overlooking a lower level. If gaps exceed that threshold, you have two options. You can install a retrofit spindle kit, which adds intermediate balusters to close the spacing. Or you can attach a transparent banister guard, a mesh or acrylic panel that runs the length of the railing and eliminates gaps entirely.
Balconies deserve extra attention. A child who can pull to stand can reach a balcony railing. A child who can climb can get over one. If your home has an exterior or interior balcony accessible from any floor, treat it as a high-priority hazard and restrict access with a gate or door lock until you’ve addressed the railing configuration.
Window Safety on Upper Floors
Falls from windows are a serious risk on any floor above ground level. The CPSC guidance is clear: window guards or stops that limit opening to 4 inches or less should be installed on any window accessible to a mobile child.
Four inches matters because it’s roughly the width of a child’s head. A window that opens more than that is wide enough for a child to fall through, even if it doesn’t seem like it from an adult perspective.
Window stops are the simpler solution. They’re inexpensive hardware inserts that prevent a window from opening beyond a set point. Window guards are more robust but require a quick-release mechanism on any window that could serve as a fire exit. Check your local fire code before installing fixed guards.
Windows that get overlooked are often those parents don’t think of as "accessible." A low dresser next to a window becomes a climbing platform. A toy chest positioned under a sill does the same. When auditing upper floors, examine what’s within three feet of each window, not just the windows themselves.
Furniture Anchoring on Every Floor
Tip-over injuries are not a nursery-only problem. They happen wherever children climb, and children climb everywhere. In a multi-level home, that means dressers, bookcases, and televisions on every floor need to be anchored to wall studs, not just the furniture in the baby’s room.
Anti-tip straps are inexpensive and take about ten minutes to install. The strap connects the top rear of the furniture to a wall stud, preventing forward rotation when a child pulls on a drawer or climbs the front. The key word is stud. Drywall anchors alone are not sufficient for furniture that a child’s full body weight could pull forward.
Adhesive strap locks are easier to defeat than screw-mounted anti-tip straps. The difference in mounting method determines whether a child can generate enough force to overcome the anchor.
Bathroom Access Across All Floors
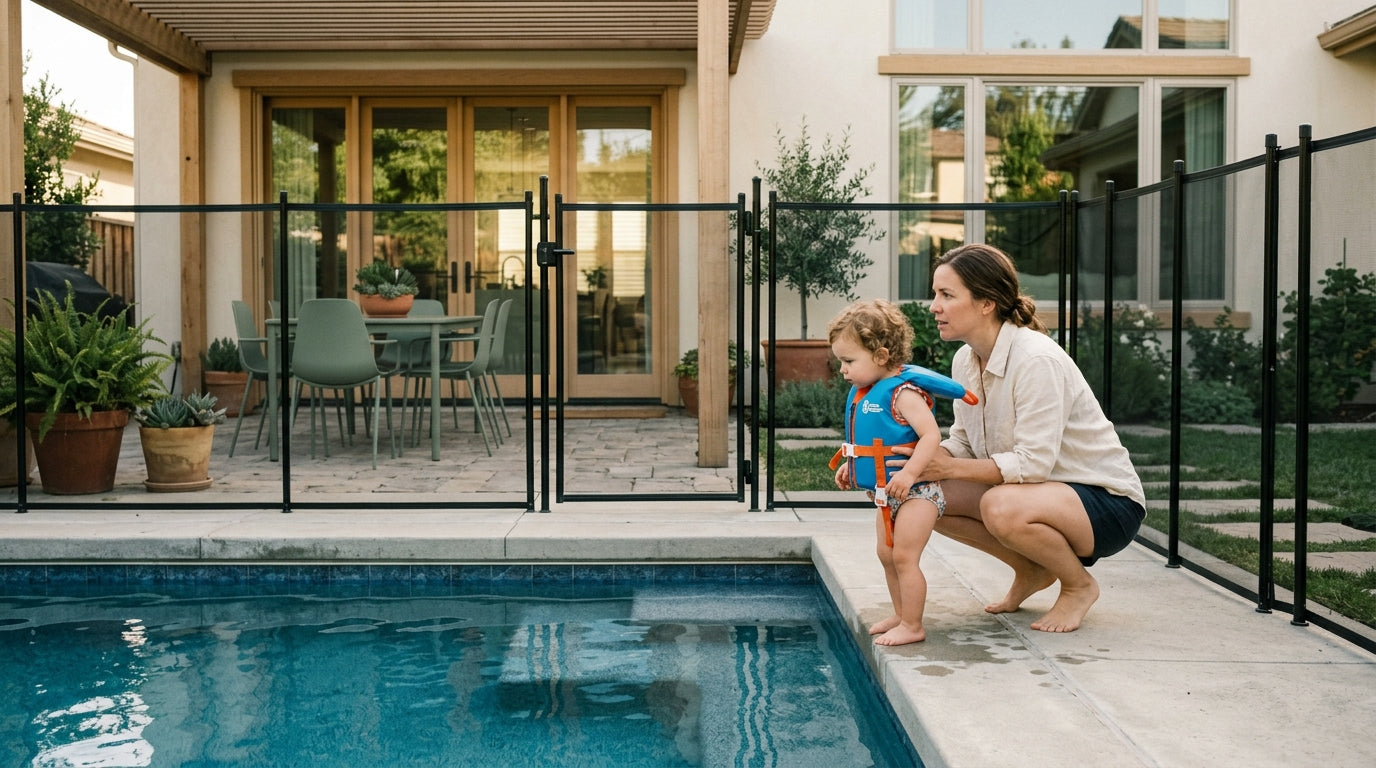
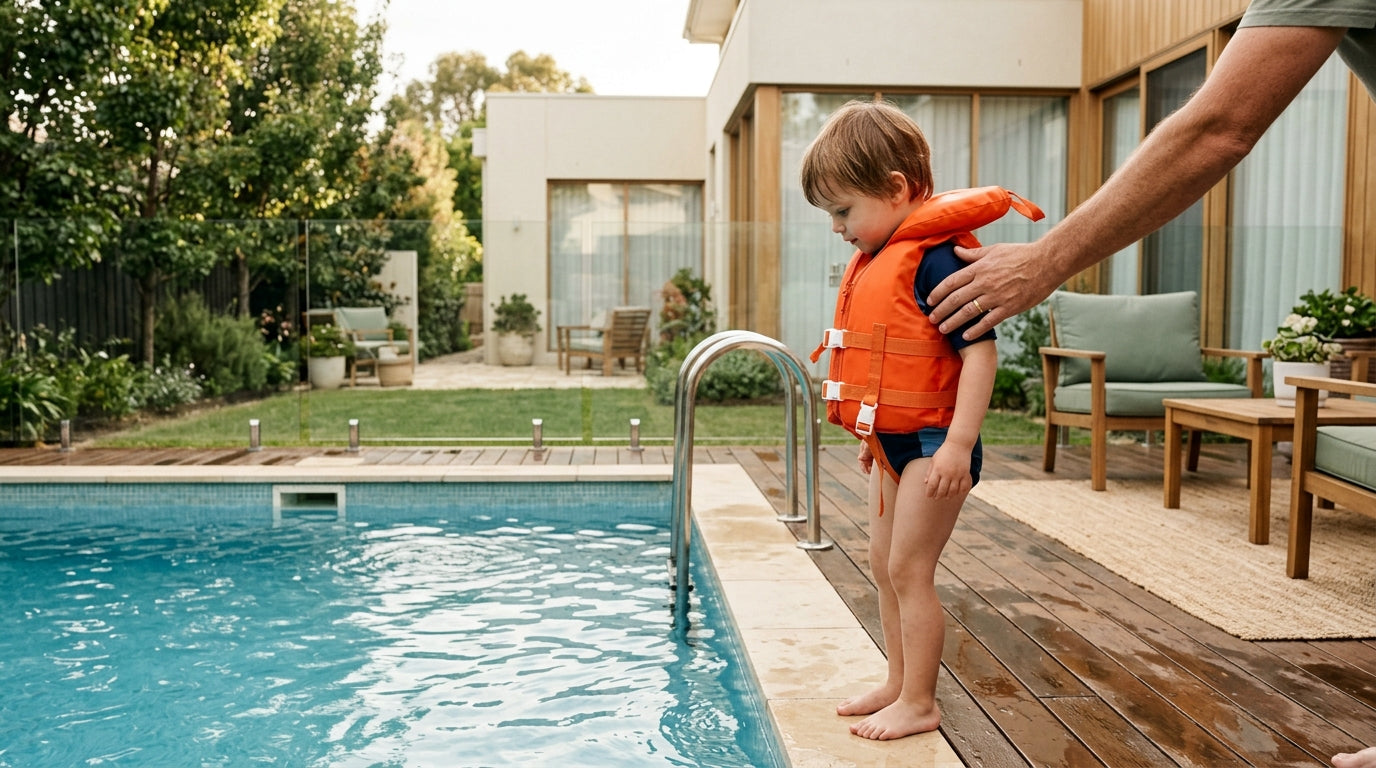
Drowning can occur in seconds in very small amounts of water. Any bathroom on any floor of your home is a hazard if a child can access it unsupervised. This means toilet locks, door knob covers or lever locks, and a firm rule about standing water.
Never leave a filled bathtub unattended on an upper floor. Never leave buckets, mop pails, or any container holding water in a bathroom a child can reach. These seem like obvious precautions, but the multi-level dynamic creates a specific risk: a parent on the ground floor may not realize a child has climbed to the second floor and entered a bathroom that was left unlocked.
The solution is layered. A gate at the top of the stairs buys time. A door lock on the bathroom adds a second barrier. Neither one alone is sufficient if the other fails.
Floor-by-Floor Safety Checklist
Landings, Hallways, and Transition Spaces
Landings accumulate clutter, shoes, laundry, toys, bags, and become tripping hazards. In a multi-level home, the landing between flights of stairs is often the most trafficked and least managed space. A parent carrying a child who catches a foot on a shoe is in real danger. So is a toddler navigating a hallway full of obstacles.
Include landings and hallways in your weekly safety sweep. Clear pathways, relocate items that don’t belong, and address the lighting.
Staircase Lighting and Nighttime Safety
Every flight of stairs and every landing should have adequate lighting, controllable without crossing the dark space first. Motion-sensor lights are the most practical solution for staircases because they activate automatically and don’t require a child to wait in the dark while a parent finds a switch.
Dimmer-controlled fixtures are useful in hallways near bedrooms, where bright light during nighttime supervision disrupts sleep. The goal is visibility without a full light-up of the house at 3 a.m.
Check every staircase in your home. If any flight has a switch only at one end, or no overhead light at all, that’s a project to address before you need it.
Building a Floor-by-Floor Safety Inventory
A simple document, one section per floor, with a checklist of every hazard category and columns for "addressed" and "date reviewed", takes about thirty minutes to build and saves time on monthly reviews.
A child’s risk profile changes fast. A 6-month-old who can’t sit up independently requires different protections than an 18-month-old who can climb a baby gate. What you addressed in month three may be insufficient by month twelve. A floor-by-floor inventory makes those gaps visible.
Review it monthly. Update it when your child hits a new mobility milestone. Crawling, pulling to stand, climbing, opening doors, these are the moments when yesterday’s solution stops working.
Share the document with every caregiver in your home. A gate is only effective if every person, parent, babysitter, grandparent, older sibling, latches it consistently. Written expectations, posted somewhere visible, reduce the chance that one person’s lapse becomes an incident.
A multi-level home is manageable with systematic thinking. Start with the stairs, work outward to each room on each level, and revisit the whole picture every time your child reaches a new mobility milestone.