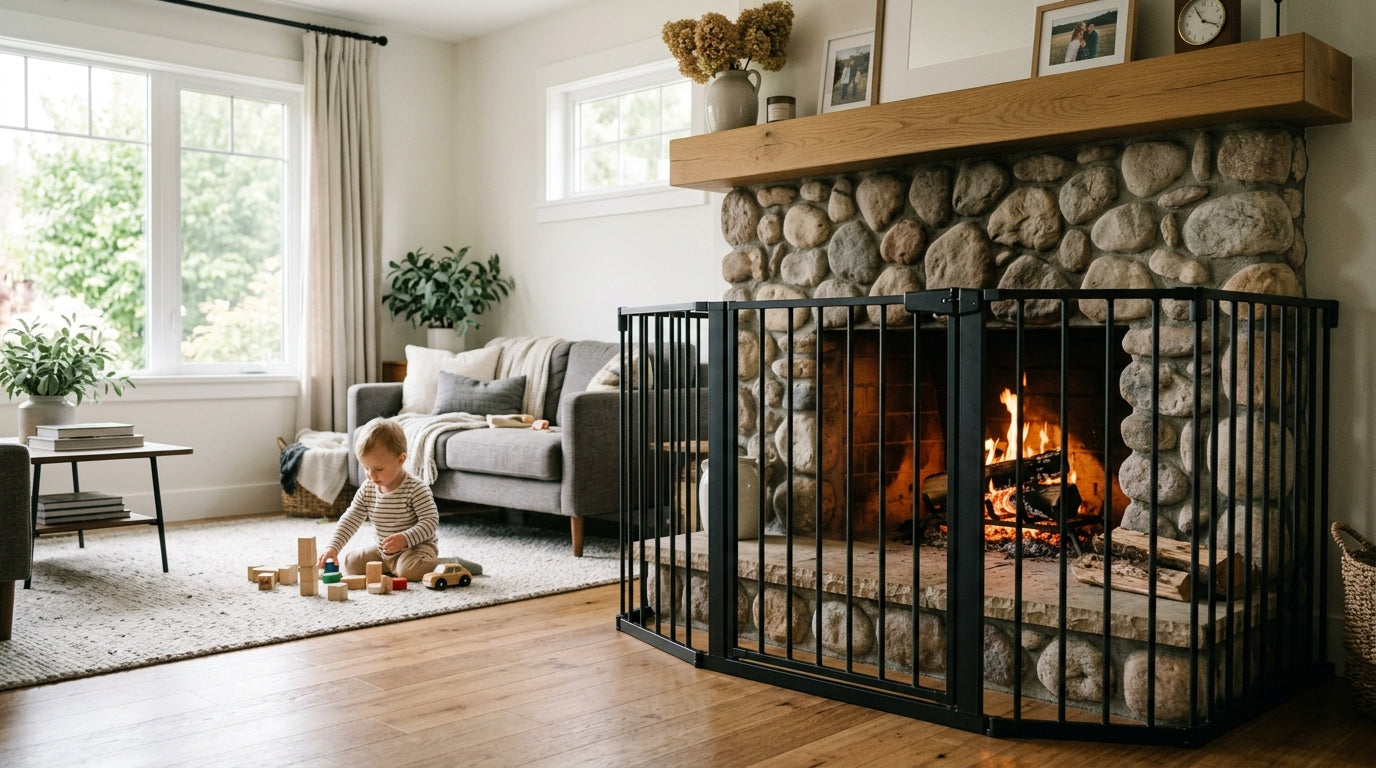
The front door is the one place in your house where the stakes of a failed lock are highest. A kitchen cabinet gets raided. A bathroom drawer gets emptied. But an unsecured front door means your child is outside, possibly near a street, before you’ve even registered the sound of the latch clicking.
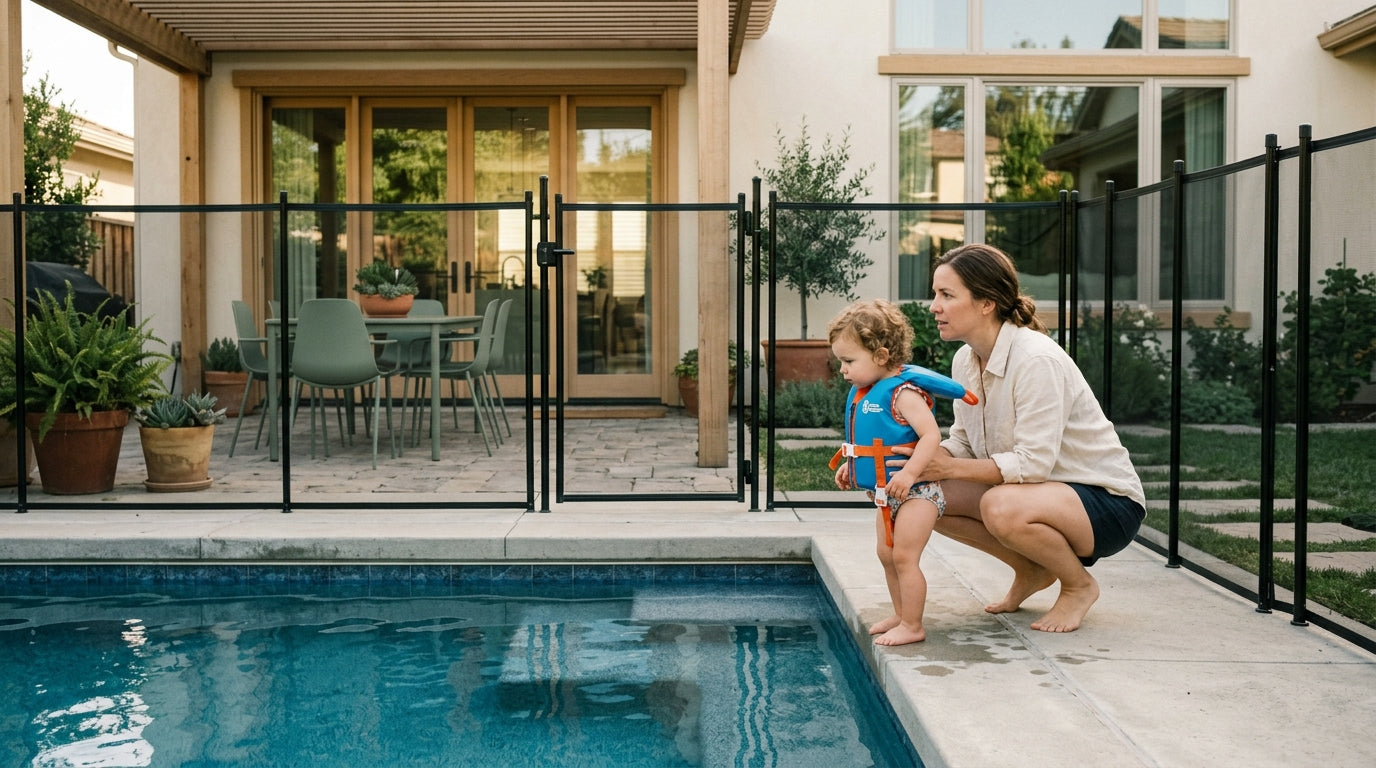
According to the CDC, driveway and street incidents are among the leading causes of unintentional injury death in toddlers ages 1–4. The front door is the first line of defense between your child and that risk. Getting it right matters.
Why Toddlers Master Door Hardware Faster Than You Expect
Round knobs slow kids down. Lever handles do not. A toddler with enough arm strength to hang from your hand can depress a lever handle and pull. In my experience, children figure out front lever handles around 28 months. A child can depress a lever handle and pull the door open without making much noise.
The CPSC has documented that children as young as 24 months can operate standard lever-style door hardware without assistance. Round knobs buy you a few more months, typically until 36 months or so, but they are not a long-term solution. And dead bolts, which most parents assume are child-proof, are often easier for toddlers to operate than adults realize. A thumb-turn dead bolt requires almost no grip strength. Just a pinch and a twist.
The solution is layered hardware: a dead bolt cover, a handle or knob lock, and ideally a door alarm. Each layer adds time. Time is what keeps a toddler on the right side of the door.
Understanding Your Options: Dead Bolt Covers
A dead bolt cover is a plastic housing that fits over your existing thumb-turn dead bolt and makes it impossible to grip without pressing or squeezing a release mechanism first. Most require two simultaneous actions, pressing in on both sides while turning, which exceeds fine motor coordination in children under 4.
There are two main styles. The first is a clamshell cover, which snaps around the thumb turn and requires you to squeeze the sides inward before you can rotate it. The second is a sliding cover, which has a panel that must be pushed aside before the thumb turn is accessible. Clamshell covers tend to be more secure. Sliding covers are faster for adults in a hurry but easier for persistent toddlers to defeat.
When buying, look for:
- A cover that fits your specific dead bolt brand (Schlage and Kwikset have different thumb-turn dimensions)
- A mechanism that requires two distinct simultaneous actions to open
- Solid construction without flex or rattle, which signals a thinner plastic that degrades faster
Avoid covers that rely solely on a friction fit. Friction-fit covers can be pulled off with enough sustained toddler effort.


Understanding Your Options: Handle and Knob Locks
Handle locks and knob covers address the latch itself, separate from the dead bolt. They come in three main forms.
Door knob covers are the classic solution: a plastic shell that spins freely around your existing knob until an adult squeezes the sides to engage the grip. They work well on round knobs. They do not work on lever handles.
Lever handle locks are a different product entirely. These are typically a two-piece clamp that installs around the lever and prevents it from being depressed past a certain point. Some use a key; others use a push-button release positioned high on the unit, out of toddler reach. The key-based versions are more secure but add friction to your own daily routine, which matters if you’re carrying a baby and a diaper bag every time you leave.
Door handle shields wrap around the entire handle assembly and require the adult to reach inside a small opening to operate the lever. These are less common but effective for households with children who have figured out lever-based locks.
For lever handles specifically, choose a lock that physically prevents lever depression rather than one that just covers the lever. Shield-style covers can be circumvented by reaching fingers into the opening to press the lever directly. A clamp-style lever lock prevents this.
-
Check your dead bolt dimensions
Measure the thumb turn width and height. Most covers list compatible dead bolt models in the packaging. -
Open the dead bolt to the unlocked position
The cover needs to go on with the bolt retracted so you can test it in both positions after installation. -
Snap or slide the cover into place
Clamshell covers hinge open, go around the thumb turn, and click shut. Make sure it seats flush against the door face with no gap. -
Test the locking function
Use the cover to lock and unlock the dead bolt yourself. It should operate smoothly. If it binds, the cover may not be sized correctly. -
Test resistance
Try to rotate the cover without pressing the release. It should not move.
How to Install a Dead Bolt Cover
Installation is straightforward. Most covers take under five minutes.


How to Install a Lever Handle Lock or Knob Cover
For knob covers:
- Pull the two halves of the cover apart at the seam.
- Place both halves around the existing knob and snap them together.
- Test that the cover spins freely when you grip it without squeezing, then engages and turns the knob when you squeeze the sides.
- Check that the cover does not slip off with a firm outward pull.
For lever handle locks:
- Read the instructions for your specific model. Mounting points vary.
- Most clamp-style locks attach above and below the lever with screws into the door face or the handle escutcheon plate. Use the provided hardware.
- Set the lock in the engaged position and confirm the lever cannot be depressed more than a few millimeters.
- Test your own ability to disengage and operate the lever quickly. You need to be able to do this in the dark, one-handed, carrying something.
One note on adhesive-mounted products: avoid them on front doors. Front doors experience more temperature swings, humidity changes, and vibration from closing than interior doors. Adhesive fails faster here. Screw-mounted hardware is worth the extra five minutes.
Adding a Door Alarm as a Backup Layer
No mechanical lock is foolproof. Children learn. Products fail. A door alarm gives you an audible alert the moment the door opens, which is your backup when everything else doesn’t work.
Magnetic contact alarms are the simplest option. One piece mounts on the door frame, one on the door itself. When the door opens and the magnets separate, the alarm sounds. These install with adhesive or small screws and cost very little. Set the alarm to a tone loud enough to hear from two rooms away.
Position the alarm sensor at the top of the door frame, well above toddler reach. Some children, given enough time, will investigate a sensor they can see and touch.
A door alarm does not replace a dead bolt cover or handle lock. It supplements them. The lock buys you time; the alarm tells you that time has run out.
Front Door Safety Check
Checking Your Work: A Quick Walk-Through
Once everything is installed, run through this check:
When to Upgrade Your Approach
Standard baby-proofing hardware is designed for children under 4. By age 4–5, most children can defeat consumer-grade covers with enough motivation. At that point, the conversation shifts from hardware to rules, supervision, and teaching your child about door safety directly.
But until that developmental stage arrives, layered hardware on your front door is one of the highest-value safety investments you can make. The door that takes an adult three seconds to open should take a toddler long enough for you to get there.