Why Do Foam Corner Protectors Keep Falling Off? Fix It Permanently

Every foam corner protector you’ve ever peeled off the floor and tried to press back onto a table leg has one thing in common: the failure wasn’t random. There’s a reason it fell off, and once you know it, you can fix it for good.
The Real Reason They Fall Off
Most parents assume the protector failed because a toddler yanked it or bumped it hard enough. Sometimes that’s true. But the failure almost always happens before the first impact. The adhesive never bonded correctly in the first place.
Pressure-sensitive adhesive, which is what backs nearly every foam corner guard on the market, requires direct, sustained contact with a clean surface. Dust, furniture polish residue, soap film, and even the natural oils left by your fingertips during installation create a barrier between the adhesive and the surface. The protector feels stuck. It isn’t.
Temperature swings make it worse. Foam expands and contracts with heat and cold, and the adhesive bond flexes with it. In a climate-controlled living room, that movement is minimal. Near a heating vent, in a basement, or in a bathroom with humidity spikes, the bond loosens incrementally with every cycle until the protector drops off on its own.
Surface Prep Is the Whole Game
Wipe the corner with rubbing alcohol before you install anything. That’s the single most effective step most parents skip entirely.
Alcohol removes oils, dust, and cleaning product residue without leaving a film. After wiping, wait 5–10 minutes. The surface needs to be dry, not just visibly dry. Adhesive applied to a surface that still holds trace moisture will peel within days, sometimes hours.
In my experience, I once installed a cabinet latch two days after cleaning with a spray cleaner. The surface looked fine, but the bond failed within days. Surface preparation is critical.
Also check for fresh paint or fresh caulk. Both need at least 30 days to fully cure before adhesive will bond to them reliably. Applying a corner guard to a wall painted last week is the same as applying it to a wet surface.


Textured Surfaces Need a Different Approach
Smooth drywall, finished furniture, and painted wood give adhesive a flat contact area. Textured surfaces, rough wood, brick, or stone give it almost none. The adhesive touches only the high points of the texture, and the bond is a fraction of what it would be on a smooth surface.
For these situations, you have two options. Sand the corner smooth before installing the protector, which works well on wood furniture. Or skip adhesive-only guards entirely and use corner guards with mechanical anchors, small nails, or screws. A protector secured with two finish nails isn’t going anywhere regardless of surface texture.
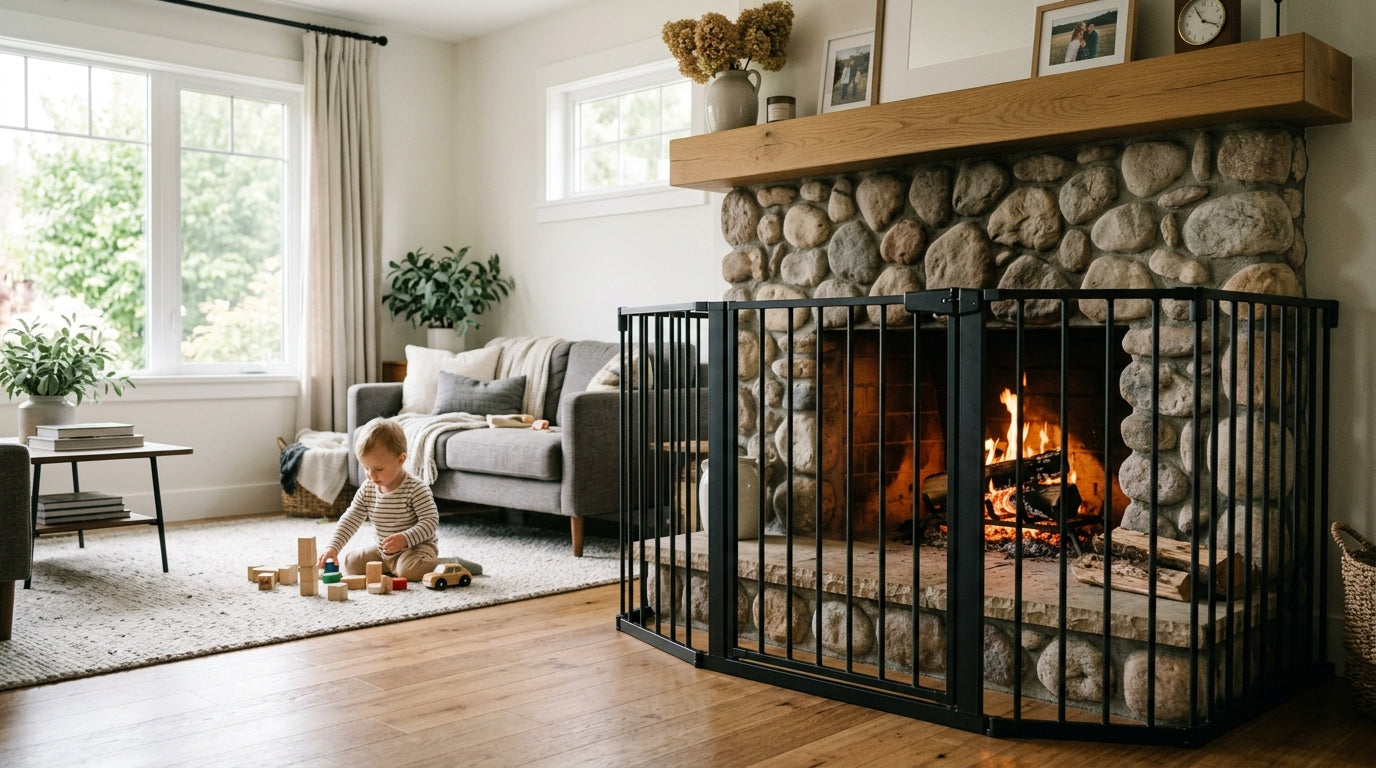
This matters most on stair railings and exposed brick corners, which are also the highest-risk surfaces in most homes.
| Surface Type | Best Fastening Method | Inspection Frequency |
|---|---|---|
| Smooth furniture | Pressure-sensitive adhesive | Every 3–6 months |
| Painted drywall | Outdoor-rated adhesive | Every 3–6 months |
| Bathroom or kitchen | Outdoor adhesive or screw | Every 3 months |
| Textured or rough wood | Sand first, then adhesive | Every 3 months |
| Brick or masonry | Mechanical anchors only | Every 6 months |
| Stair railings | Finish nails or screws | Every 6 months |
Why Clear Protectors Fail Faster
Clear corner protectors are popular because they’re nearly invisible on furniture. They’re also the category I see fail most often, and there’s a structural reason for it.
Most clear guards use thinner adhesive backing than their foam counterparts. They’re engineered as temporary solutions, typically rated for 6–12 months under normal conditions. Parents install them, assume they’re permanent, and don’t check them again until one falls off. By then, the adhesive has degraded and the guard has been providing no protection for weeks.
If you want clear and permanent, look for clear guards with adhesive strips rated for outdoor use, which are formulated to handle temperature swings and moisture. Or accept that clear foam guards need inspection every 3–6 months and replacement on a schedule, not just when they fall off.
When to Go Mechanical
Adhesive works for most furniture edges and cabinet corners in low-traffic areas. It doesn’t work well enough for high-traffic zones, and no amount of surface prep changes that.
High-traffic corners include stair railings, the edges of kitchen islands, coffee table corners in active living rooms, and any surface a child regularly leans against, pulls on, or grabs for balance. In these locations, the mechanical stress on the adhesive bond is constant. Even a well-installed adhesive guard will eventually lose.
Corner guards with pre-drilled holes for small finish nails or screws solve this permanently. The fastener carries the mechanical load; the adhesive just keeps the guard flush to the surface. For renters who can’t put holes in walls, this approach works well on furniture, where small fasteners into wood cause no lasting damage.
Heavy-duty guards secured this way also handle pets better. High dust and pet hair accumulate on adhesive surfaces and degrade the bond over time. A mechanically fastened guard doesn’t care.
The Contamination Problem
Once a foam protector falls off, the adhesive is done. It picks up dust and debris from the floor the moment it lands, and that contamination is permanent. Pressing it back onto the surface doesn’t work. The bond will be weaker than the original installation, which already failed.
Replace it. A fresh guard with a clean adhesive surface, installed on a properly prepped corner, will outlast any attempt to rehabilitate a fallen one.
This is also why buying corner guards in multi-packs makes sense. You will replace them. Plan for it.
Installation Checklist
A Practical Installation Checklist
Before you open the package:
- Identify the surface type: smooth, textured, painted, raw wood, or masonry
- Check whether the surface has been painted or caulked in the last 30 days
- Note whether the corner is near a heat source, in a bathroom, or in a basement
At installation:
- Wipe the corner with rubbing alcohol
- Wait 5–10 minutes for full evaporation
- Press the guard firmly for at least 30 seconds, applying even pressure across the entire adhesive surface
- Don’t test it by pulling immediately; give the adhesive 24 hours to set before the corner sees any traffic
After installation:
- Check adhesive-only guards every 3–6 months
- Replace any guard that has lifted at even one edge; partial adhesion fails quickly once compromised
- In high-dust homes or homes with pets, inspect more frequently
Matching the Guard to the Job
Not every corner needs the same solution. A coffee table corner in a carpeted living room is a different problem than a brick fireplace hearth or a stair railing post.
For smooth furniture edges in living areas, standard foam guards with pressure-sensitive adhesive work well when installed correctly. For bathroom vanity corners and kitchen edges, use guards with outdoor-rated adhesive or add a mechanical fastener. For masonry, brick, or heavily textured surfaces, mechanical anchoring is the only reliable option.
Renters get the most mileage from furniture-grade protectors with stronger adhesive formulations, applied to furniture rather than walls. These products are engineered specifically for furniture surfaces and hold better than generic foam guards on finished wood and laminate.
The goal is a protector that stays in place long enough to matter. With the right prep, the right product, and the right fastening method for the surface, that’s entirely achievable.