Baby Gate for Doorway: Best Options That Won't Damage Your Door Frame

About 93,000 children under 5 are treated in U.S. emergency rooms each year for stair-related injuries, according to a Nationwide Children’s Hospital analysis of CPSC NEISS data. That number stops most parents cold. And yet the gate question I get more than almost any other is some version of: "Can I put one up without destroying my door frame?" The answer is yes, with caveats worth understanding before you buy.
Why the Right Gate Matters More Than the Right Finish
The gate aisle at any baby store is full of options that look roughly similar. They are not roughly similar. The distinction that matters most is not color or wood grain. It is how the gate attaches to the wall, and where you plan to put it.
CPSC guidance is clear: pressure-mounted gates are not safe for the top of a stairway. Full stop. They work by tension, pressing outward against door frames or walls, and a determined toddler throwing their weight against one can dislodge it. Hardware-mounted gates, anchored with screws into wall studs or solid door frame material, are the only appropriate choice for stair tops. If you are installing at the bottom of stairs or in a doorway leading to a kitchen or laundry room, a pressure-mounted gate can work well. But if there is a drop on the other side, use screws.
I learned this distinction the hard way when my older daughter was about 22 months old. I had a pressure-mounted gate at the top of our stairs because I was renting and nervous about holes in the trim. She hit it at a run one afternoon, and it shifted enough to scare both of us badly. We drilled into the frame the same evening.


Pressure-Mounted Gates: What They Can and Cannot Do
For doorways leading to rooms rather than drops, pressure-mounted gates are practical. They require no tools beyond occasionally a screwdriver to tighten the tension mechanism, they come down cleanly when guests visit, and they leave no permanent holes. Renters and parents in older homes with ornate trim often prefer them for exactly these reasons.
The trade-off is stability. Pressure-mounted gates rely on even, consistent contact with both sides of the frame. If your doorway has baseboards that create an uneven surface, or if the opening is slightly out of square, the gate may not seat properly. Many models include spacer pads to compensate for baseboard depth, and it is worth checking that your gate includes these before you buy.
Standard widths run roughly 28–42 inches, which covers most interior doorways. If your opening is wider, look for extra-wide models that extend to 60 inches or beyond. Measure your doorway before purchasing. A gate installed at the outer edge of its adjustment range will have less tension holding it in place.
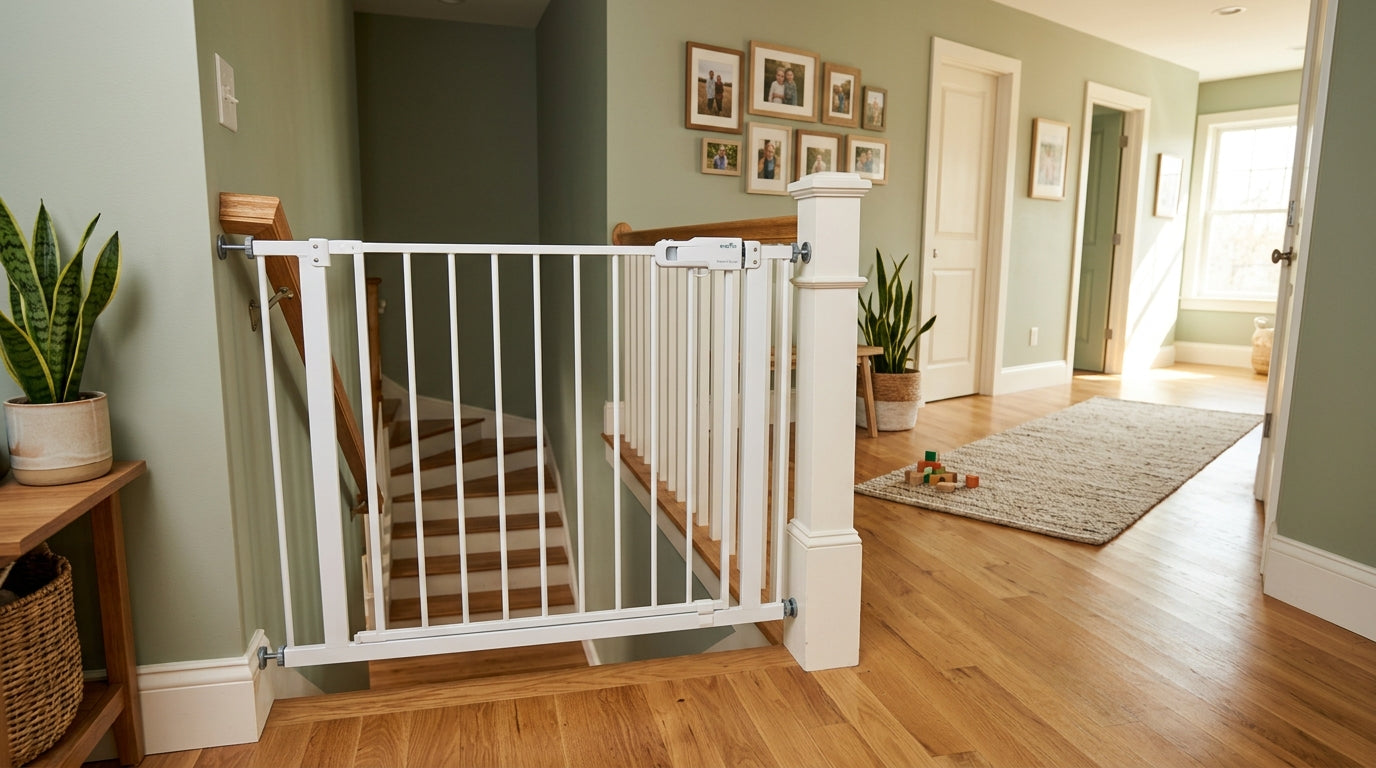
Hardware-Mounted Gates: The Stairway Standard
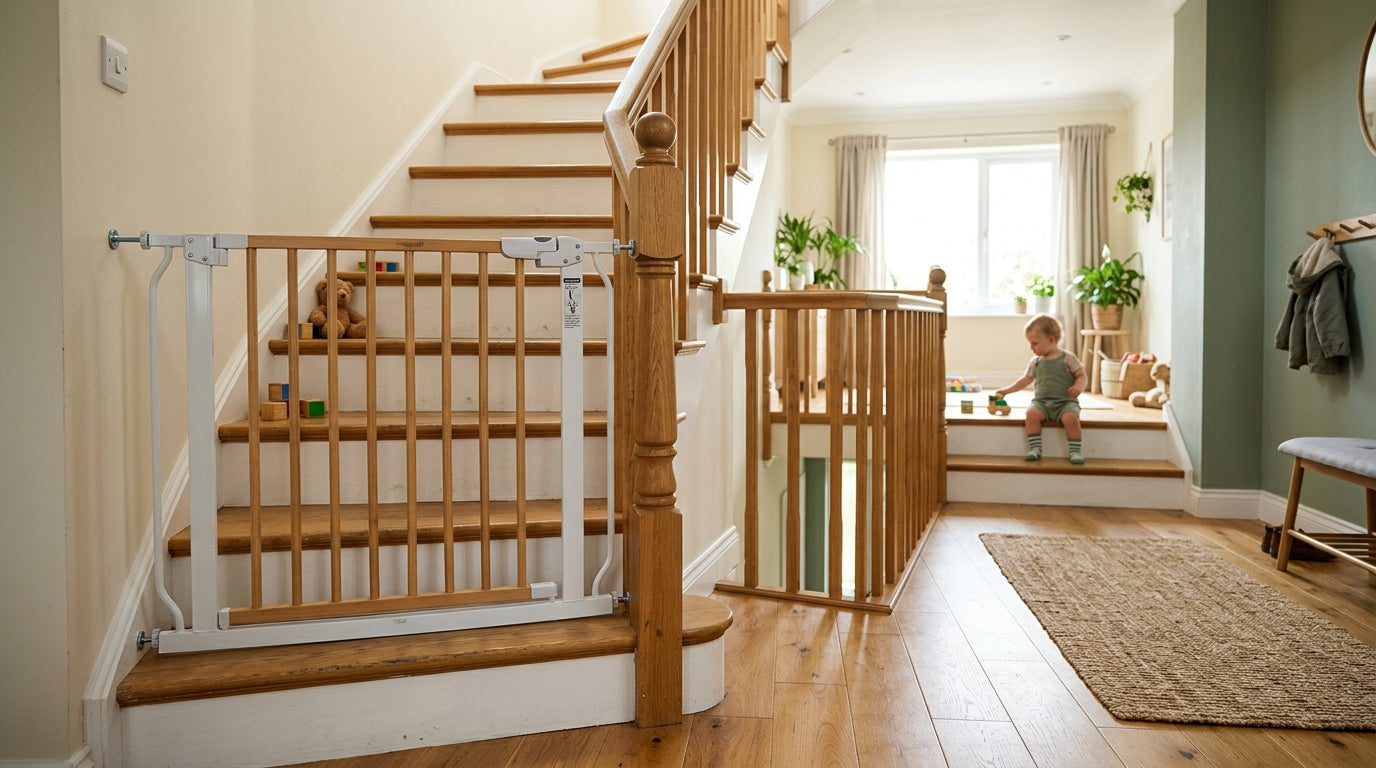
If you are installing at the top of a stairway, hardware mounting is not optional. The screws go into the door frame or, ideally, into the wall studs behind it. Yes, this means holes. Two to four small holes per side, typically covered by the mounting hardware itself while the gate is in use.
When we finally installed a hardware-mounted gate at our stair top, I was surprised by how minimal the footprint was. The screw holes are small. When we eventually removed the gate, a few minutes with wood filler and a touch of paint made the frame look fine. The anxiety I had about "ruining" the trim was much larger than the actual damage.
For hardware-mounted gates, pay attention to the mounting hardware included. Some gates come with wall cups that sit against the frame and distribute load across a wider surface area, which is gentler on painted trim. Others use narrow bolts that concentrate force. If your frame is older or the paint is fragile, the cup-style mounts are worth seeking out.
The Slat Spacing Rule You Cannot Skip
Whatever gate you buy, check the spacing between vertical bars or slats before you install it. CPSC standard 16 CFR 1219 specifies that crib slats must be no more than 2 3/8 inches (6 cm) apart, and this 2 3/8-inch threshold is the widely applied benchmark for preventing head entrapment in gates as well. Run a tape measure across the bars. If anything is wider, the gate does not meet basic safety geometry.
Most gates sold in the U.S. today must comply with ASTM F1004, the federal safety standard for expansion gates and expandable enclosures, made mandatory under 16 CFR Part 1239 (effective 2021). Compliance means the slat spacing has been tested. But if you are using a secondhand gate or a model purchased before 2021, verify the spacing yourself.
Damage-Free Installation: What It Means
"No-drill" and "damage-free" are marketing terms, and they mean different things on different products. Some pressure-mounted gates use adhesive wall cups rather than tension alone, which can leave residue or pull paint when removed. Others use rubber-tipped pressure pads that leave faint impressions in painted drywall over time.
Before installing any gate using adhesive components, test the adhesive on an inconspicuous section of the same wall surface. Painted drywall, wallpaper, plaster, and tile all behave differently. I tested one popular adhesive-strip gate on the painted plaster in our hallway and found that the adhesive bonded so well that removing it after six months took a strip of paint with it. On the same product installed on a tile surface in the kitchen doorway, it came off cleanly.
The most low-damage option for most doorways is a well-fitted pressure-mounted gate with rubber-tipped expansion feet and baseboard spacers. These distribute force across the frame rather than concentrating it at anchor points, and they leave no residue.
Latch Mechanisms and One-Handed Operation
A gate requiring two hands while carrying a laundry basket will be left open. One-handed operation matters in daily use. But the latch still needs to be child-resistant, meaning it should require two distinct actions to open, so a toddler cannot work it out by trial and error.
My younger daughter figured out a simple lift-and-swing latch at around 28 months. She watched me do it twice, and that was enough. We replaced that gate with a model requiring a simultaneous lift and squeeze, and she has not cracked it in eight months.
Look for gates with auto-close and auto-latch features. A gate that swings shut and clicks without you touching it removes the single most common failure mode: the gate left open by accident. Check that the auto-latch engages reliably from both directions of swing, and that it does not require you to push the gate hard to seat the latch, which creates a pinch risk for small fingers nearby.
Before You Install: Gate Safety Checklist
Swing Direction and Trip Hazard Geometry
Gates at stairways should swing away from the stairs, never toward them. If the gate swings toward the stairs and a child pushes against it while it is latched, the latch takes the load. If it swings toward the stairs and is unlatched, a child could swing it open and step into the opening in one motion. Away from the stairs is the correct orientation.
In doorways, think about which direction adults will be passing through most often and whether the gate’s swing arc creates a trip hazard. A gate that swings into a narrow hallway and stays open at 90°F, blocking foot traffic, will get propped open rather than latched. Choose a model whose swing arc clears the space you have.
Freestanding and Portable Gates
Freestanding gates, the kind that stand on their own feet without mounting to anything, have a legitimate use case. They are useful for blocking off a section of an open living room, creating a play zone at a family member’s house, or keeping a child away from a fireplace hearth. They are not useful at the top of stairs. The stability that makes them portable is the same property that makes them inadequate as a fall barrier.
If you travel frequently and need something for hotel rooms or grandparents’ houses, a lightweight freestanding gate is a reasonable tool. Just be clear-eyed about what it can and cannot do.
Maintenance and Inspection
A gate you installed 18 months ago is not necessarily the same gate it was on installation day. Hinges loosen. Latches wear. Plastic components fatigue. Before you rely on any gate, check the hinge screws, test the latch under firm pressure, and look at the bars for any bending or deformation. A gate with a latch that does not click reliably should be replaced, not adjusted and hoped for.
This is especially true for gates that see heavy daily use, like a gate at the top of stairs in a home with multiple children. Inspect it monthly. It takes 30 seconds.
Wood gates are attractive and blend well with traditional interiors, but they require more attention. Check for splinters, swelling from humidity, and paint or finish wear that could expose rough edges. Metal and plastic gates hold up better in high-traffic areas and are easier to wipe clean after the inevitable yogurt incident.
Making the Final Call
Measure your doorway. Identify whether the installation is at a stairway or a flat-floor doorway. If it is a stairway, buy a hardware-mounted gate and accept the small holes. If it is a doorway, a quality pressure-mounted gate with rubber expansion feet and baseboard spacers will protect your frame and do the job. Verify slat spacing meets the 2 3/8-inch standard. Choose a latch that requires two actions to open. And check that the gate auto-closes if you can find a model that does it reliably, because the gate you forget to latch is the one that matters.