How to Set Up a Safe Playroom: Design Layout and Baby Proofing

Every playroom starts with good intentions. You buy the colorful foam tiles, the low toy bins, the cheerful curtains. Then your kid finds the one outlet you forgot to cover, or scales the bookshelf like it’s a climbing wall, and you realize the room you designed for play has a few gaps you need to close.
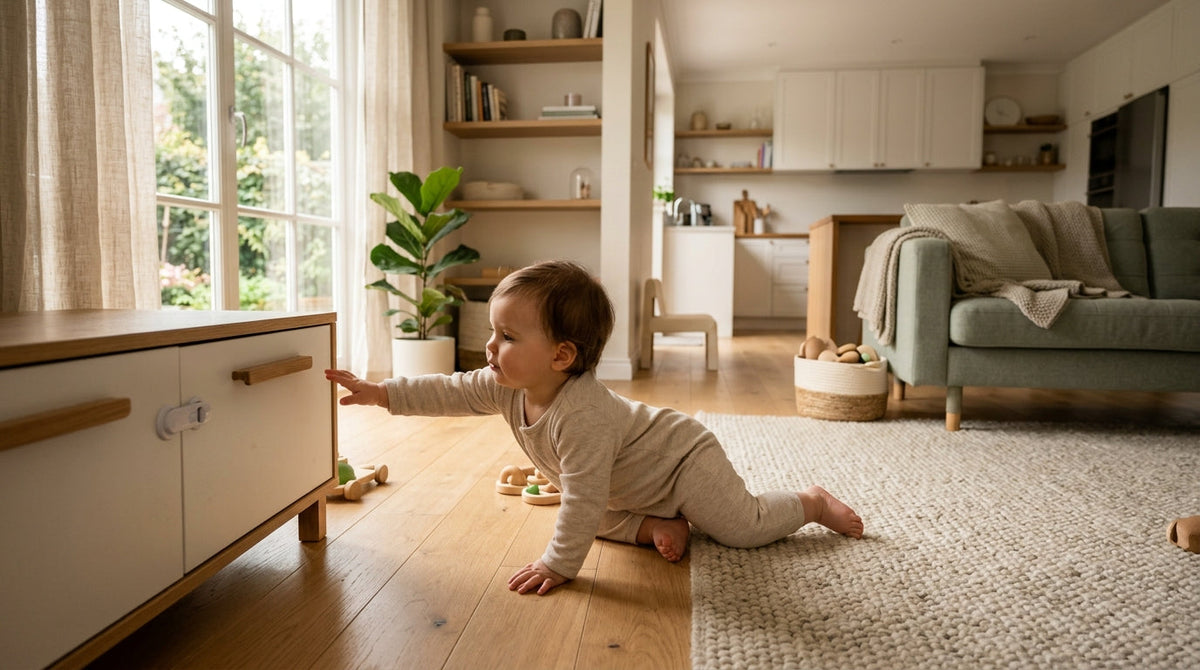
Setting up a safe playroom is less about buying the right products and more about thinking like a toddler. That means getting on your hands and knees, looking at the room from 24 inches off the ground, and asking what you’d grab, climb, or chew if you had no impulse control and unlimited energy.
Here’s how to do it right.
Start with the Layout: Sightlines and Traffic Flow
The single most important safety feature in any playroom is your ability to see your child from wherever you’re likely to be standing. Before you move a single piece of furniture, stand at the room’s entry point and identify every spot where a child could be hidden from view. Behind a large toy chest. In the gap between a couch and the wall. In a corner blocked by a freestanding shelf. Those are your first problems to solve.
Arrange furniture to create open sightlines from the doorway. Low storage, floor cushions, and activity tables should sit in the center or along walls, not clustered in ways that create blind pockets. If you’re using the room while also doing something else nearby, like folding laundry in the hallway or cooking with the door open, you need a clear line of sight from those positions too.
Traffic patterns matter more than most parents realize. A room where the natural path from one toy area to another runs past a sharp-cornered table or through a narrow gap between shelves is a room that generates injuries. Use furniture placement to guide movement toward open space. Think about where a running child will go when they inevitably run, and make sure that path is clear.
In my experience, furniture placement requires testing. An art table in a corner near the window invites climbing to reach the ledge. Moving it to the center of the room and replacing the corner with a low, wall-flush bookshelf eliminates that pull.
Flooring: Your First Line of Defense Against Fall Injuries
Children fall. Constantly. The question is what they land on.
Hard floors, including hardwood, tile, and laminate, need cushioning in any room where a toddler spends significant time. Interlocking foam tiles are the most practical solution: they cover large areas, absorb impact, and can be reconfigured as the room evolves. Look for tiles rated for impact absorption, not just comfort. Thickness matters. A half-inch tile offers meaningful cushioning; a quarter-inch tile is mostly decorative.
Area rugs work for older children but introduce their own hazards for toddlers. Any rug in a playroom needs a non-slip pad underneath it, and the edges need to lie flat. A curled rug edge is a tripping hazard. If you’re using rugs over hard flooring, check the edges weekly, especially in high-traffic areas near toy bins where children are constantly crouching and standing.
Gaps and seams deserve special attention. Interlocking tile edges can separate over time, especially near walls where a child pushes the tiles apart during play. Small fingers and toes can catch in those gaps. Check the perimeter of your foam tile installation monthly and press any separated edges back together. Use edge trim pieces along walls to prevent the tiles from migrating.
Separated seams between foam tiles can catch small toes and cause falls. Check the perimeter monthly and press edges back together.
Wall-Mounted Storage and Furniture Stability
Any freestanding furniture taller than 30 inches is a tip-over risk. That includes bookshelves, toy storage towers, cube organizers, and any dresser or cabinet you’ve repurposed for the playroom. Children climb. They pull. They hang. A piece of furniture that feels stable to an adult can tip onto a child in seconds under the lateral force of a 30-pound toddler pulling on a shelf edge.
Anchor everything taller than 30 inches to wall studs. Use anti-tip straps rated for the furniture’s weight, and attach them to studs, not just drywall. Drywall anchors are not sufficient for furniture restraint. If you’re unsure where your studs are, use a stud finder and mark them before you start.
Evaluate every piece of freestanding furniture for stability under climbing force, not just tipping force. Kneel in front of each piece and push on the top corner with moderate force. If it rocks, it needs anchoring regardless of height.
Wall-mounted shelving is a better choice than freestanding shelves for playrooms. Mounted correctly into studs with appropriate brackets, wall shelves eliminate the tip-over risk entirely. Keep them high enough that children can’t use the lower shelves as footholds to reach higher ones.


Electrical Outlets and Cord Management
Outlets at floor level are exactly at toddler eye and hand height. Every outlet in the playroom needs to be addressed, including the ones behind furniture.
Tamper-resistant outlet covers are the current standard recommendation. These have internal shutters that only open when equal pressure is applied to both slots simultaneously, which is difficult for a toddler to replicate accidentally. They’re a meaningful upgrade over the simple plastic plug inserts, which children can remove and then mouth or choke on.
Cords are a separate hazard: they create tripping risks and strangulation risks for infants and young toddlers. Keep all cords, including lamp cords, monitor cables, and charging cables, routed along baseboards and secured with cord clips or concealed in cord covers. Don’t run cords under rugs. A cord under a rug creates a tripping ridge and can overheat.
Furniture placement can help with outlet access. Positioning a bookshelf or storage unit in front of an outlet effectively blocks it, but only if the furniture is anchored and the outlet is inaccessible, not just harder to reach. An outlet behind a light piece of furniture that a child can move is still an accessible outlet.
Toy Storage: Low, Open, and Organized by Size
The safest toy storage for young children is low, open bins that kids can reach without climbing or stretching overhead. When toys are stored in overhead bins or high shelves, children climb to reach them. When toys are stored in deep, enclosed toy chests with heavy lids, children lean in and risk the lid falling on them, or get trapped inside.
Organize storage by developmental stage and object size. Small-parts toys, anything with components that fit inside the CPSC small-parts cylinder (roughly 1.25 inches in diameter and 2.25 inches long), should be stored out of reach of children under three. That means a separate, latched or locked cabinet, or a high shelf with no accessible footholds below it.
Audit toys monthly. Broken toys generate small parts. A toy that was safe when purchased can become a choking hazard after a few months of hard play. Run your hand over toys regularly and check for cracked plastic, loose buttons, detached eyes on stuffed animals, and any piece small enough to fit in a toddler’s mouth.
Keep a small bin near the playroom door for toys that need repair or evaluation. When something looks questionable, remove it from the toy rotation immediately.
Window Coverings: The Cord Strangulation Risk
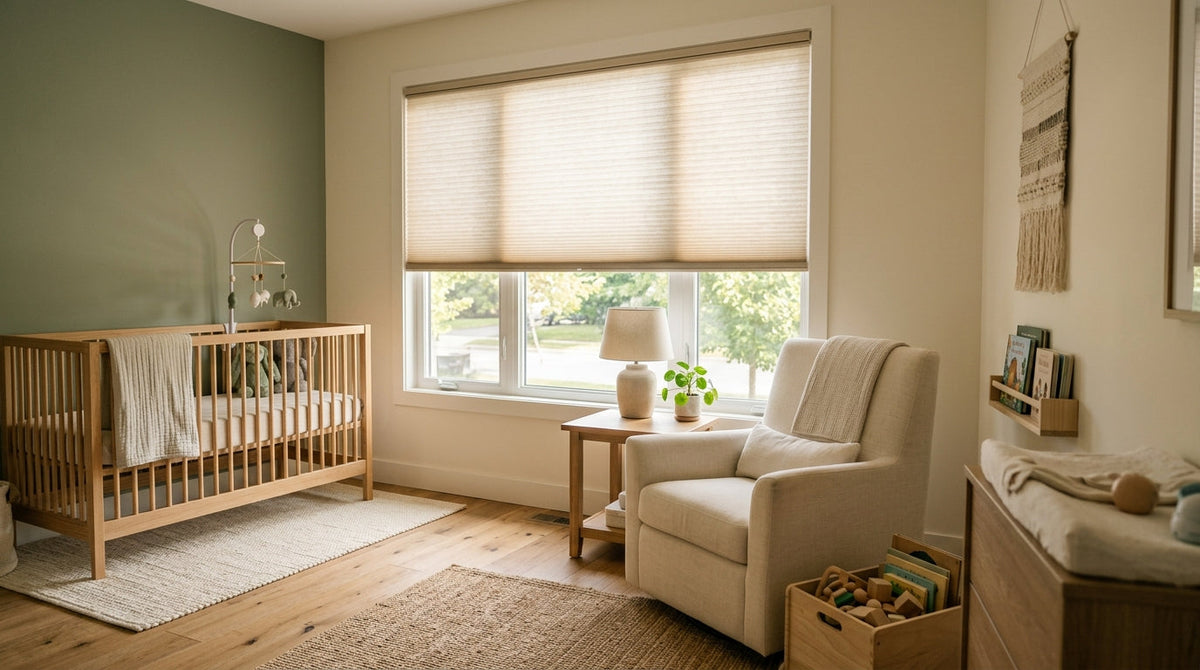
Corded window blinds remain one of the most persistent hazards in children’s rooms. The CPSC has documented strangulation deaths from both inner and outer cords on window coverings, and their guidance is clear: use cordless window coverings in any room where a child plays or sleeps.
Cordless cellular shades, cordless roller shades, and motorized shades eliminate the hazard entirely. If you already have corded blinds and aren’t replacing them immediately, use safety clips or cord wind-ups to keep all cords taut and inaccessible at a height children cannot reach. Move furniture away from windows so children can’t use it to climb toward cords.
No cord length is safe. Even a loop of cord a few inches long can tighten around a child’s neck. The only safe solution is no accessible cord.
Lighting, Temperature, and Air Quality
A well-lit playroom is a safer playroom. Dark corners hide hazards and make it harder for you to see what your child is doing. Aim for bright, even overhead lighting with no significant shadows. Add a floor lamp or wall sconce in any corner that the overhead light doesn’t reach well.
Position light switches at adult height. Children who can turn off the lights mid-play create their own hazards, and a child in a suddenly dark room is a child who may trip or fall.
For temperature, maintain a comfortable range for extended play. Overheated rooms increase fatigue and reduce a child’s ability to regulate behavior. Keep the room well-ventilated, especially if it’s a newer construction space where off-gassing from flooring, paint, or furniture may be a factor. If you’ve recently installed foam tiles or painted the room, ventilate thoroughly before extended play sessions begin.
Keep cleaning products, air fresheners, and any chemical sprays out of the playroom. Store them in a separate, locked cabinet elsewhere in the home.
Monthly Playroom Safety Audit
Gates, Doors, and Preventing Unsupervised Access
A playroom that opens onto stairs, a kitchen, or any other hazardous space needs a gate at the entry point. ASTM F1004 is the federal safety standard for expansion gates and expandable enclosures, made mandatory under 16 CFR Part 1239 (effective 2021). When purchasing a gate, look for that certification on the packaging.
Hardware-mounted gates are more secure than pressure-mounted ones for high-use openings. Pressure-mounted gates can be dislodged by a child pushing against them repeatedly. For a playroom entry that a child might push on from the inside, hardware mounting is worth the extra installation effort.
According to Nationwide Children’s Hospital analysis of CPSC NEISS data, approximately 93,000 children under 5 are treated in U.S. emergency rooms each year for stair-related injuries. A gate at the top of stairs, or at the entry to a room that leads to stairs, is one of the most high-value installations you can make.
Check doors for pinch points. Standard interior doors can trap small fingers in the hinge gap and the latch-side gap. Door pinch guards, which are foam or rubber sleeves that fit over the door edge, prevent the door from closing and eliminate both hazards. They’re inexpensive and easy to install.
Remove or disable any door lock that a child could engage from the inside. A child who locks themselves in a room and can’t get out is in a dangerous situation. Remove interior knob locks from playroom doors, or replace the knob with one that has a pinhole emergency release on the outside.
Soft Furnishings and Suffocation Awareness
Bean bags, floor cushions, and large stuffed animals are playroom staples. They’re also worth evaluating carefully. Any soft furnishing large enough for a young child to sink into or become partially buried in poses a suffocation risk for children under two. Keep very soft, enveloping items out of spaces used by infants and young toddlers.
For older toddlers, the risk shifts to inspection. Check upholstered items regularly for tears, loose seams, and exposed foam. Small pieces of foam are a choking hazard. A bean bag with a failing seam can spill hundreds of small pellets, each one a choking risk, in seconds.
Bean bag zippers should be secured with a safety pin or duct tape so children cannot open them. This is one of those hazards that’s easy to overlook because bean bags feel soft and harmless. The filling is the problem.
The Monthly Safety Audit
A playroom that was safe when you set it up will not stay safe without maintenance. Children grow. Toys accumulate. Furniture shifts. Foam tiles separate. Cords migrate.
Set a monthly reminder to audit the room from your child’s perspective. Get on your hands and knees and look at the room from 18–24 inches off the ground. You’ll spot hazards invisible from standing height: cords that have worked out from behind shelves, lifted foam tile edges, and toys with cracked pieces.
Check every anchor strap. Pull gently on every piece of anchored furniture. Verify that all outlet covers are in place. Look at the window covering cords. Open every storage bin and run a quick visual on the contents.
Document what you find. A simple note on your phone with the date and any repairs needed takes two minutes and creates a record. If you’re sharing childcare with a partner, a babysitter, or family members, that record helps everyone stay on the same page.
The playroom will evolve as your children grow. What’s safe for a four-year-old is different from what’s safe for a 14-month-old. Build the audit habit now, and it will carry you through every stage.