Every parent has a "how did they get in there?" moment. Mine came when my younger daughter, at about 18 months, somehow opened the cabinet under the bathroom sink and had a bottle of liquid soap halfway unscrewed before I made it back from answering the front door. Thirty seconds. That’s all it took.
Adhesive cabinet locks are the fastest fix for that problem, and they work on most cabinets without a drill, a screwdriver, or a trip to the hardware store. But "easy installation" is only true if you do it right. Skip the prep steps, and you’ll be peeling a failed lock off your cabinet face in two weeks while your toddler watches.
This guide covers exactly how to install adhesive cabinet locks so they hold.
Choose the Right Lock for Your Cabinet Type
Not all adhesive locks work on all surfaces. Before you buy anything, look at what your cabinets are made of.
Smooth painted wood or thermofoil: Most adhesive locks bond well here. These are the ideal surfaces.
Textured or matte-finish laminate: Adhesive bonds are weaker on textured surfaces. You may need a lock with a larger adhesive pad, or you may need to drill.
High-gloss or UV-coated cabinets: These can look smooth but are often too slick for a reliable bond. Test one lock before buying a 10-pack.
Raw wood or porous surfaces: Adhesive will not hold reliably. Use a different locking method.
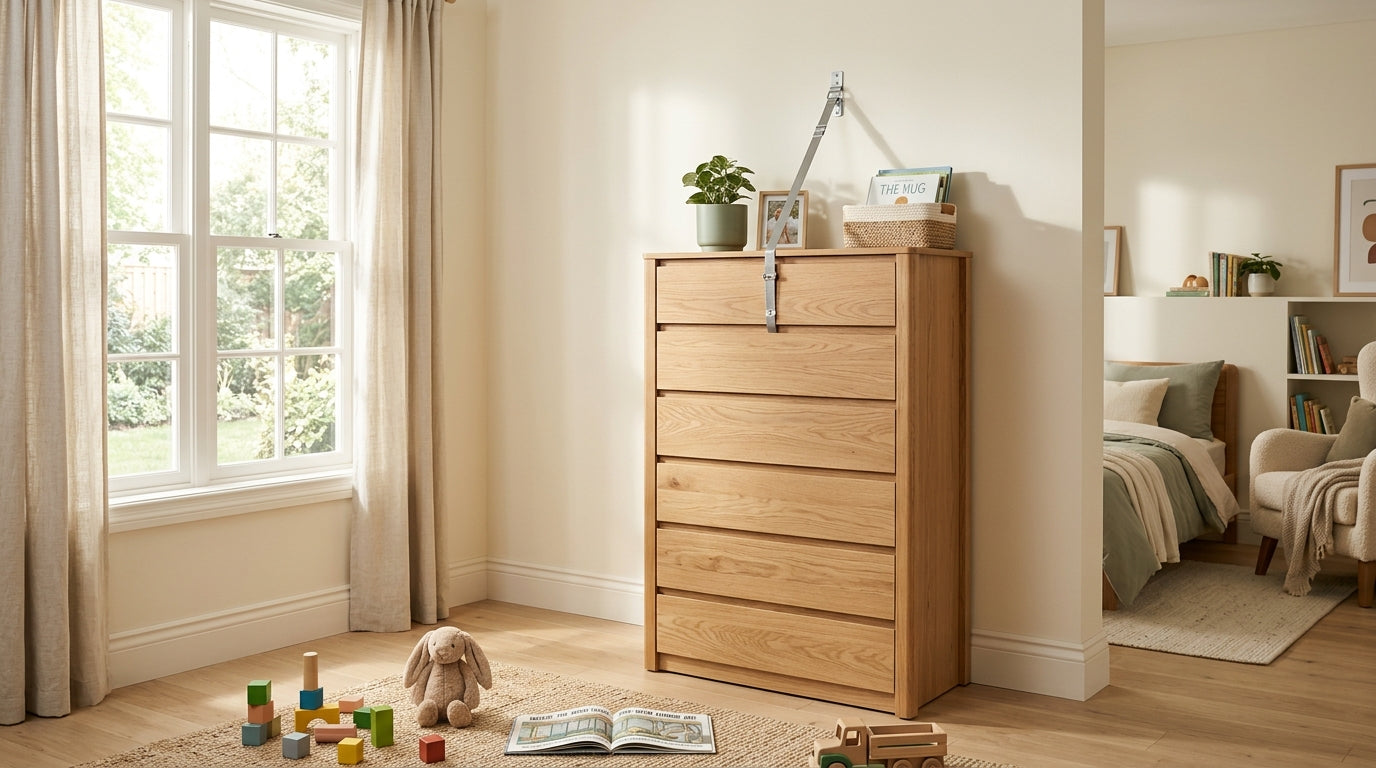
The two most common adhesive lock styles are the magnetic strap lock and the adhesive latch. Magnetic strap locks use a flexible strap that connects the door to the cabinet frame, held by adhesive pads on each end, and they release with a magnetic key. Adhesive latches mount inside the cabinet and catch on a strike plate, also adhesive-mounted. Both work. Strap locks are more forgiving on slightly uneven surfaces. Latches are more discreet.
In my testing of six different strap locks across my kitchen cabinets, one adhesive pad failed within three weeks on a cabinet with a matte-finish door. The other five held. Surface type was the difference.
Gather What You Need
The lock package will tell you that installation takes five minutes. That’s true if you count only the time your hands are moving. The prep time is what most people skip.
Here’s what you need before you start:
- Isopropyl alcohol (70% or higher) and clean lint-free cloths
- The locks themselves, with adhesive pads included or separate
- A pencil or painter’s tape for marking alignment
- A ruler or measuring tape
- A timer (seriously, set one)
You do not need a drill. You do not need a level, though it helps. You do not need any tools beyond what’s listed.


Clean the Surface First, and Mean It
This is the step that determines whether your lock lasts three weeks or three years.
Cabinet surfaces collect cooking grease, cleaning product residue, and dust. All of that sits between the adhesive and the cabinet face, and all of it weakens the bond. Wiping with a dry cloth moves the grime around. It does not remove it.
Dampen a lint-free cloth with isopropyl alcohol and wipe both mounting surfaces firmly. The door face and the cabinet frame, if your lock spans both. Let the alcohol evaporate completely. This takes about 60 seconds. Do not rush it.
Then do not touch the cleaned area with your fingers. Skin oils transfer immediately and will compromise the adhesive.
If your cabinet has been recently cleaned with a product that leaves a film, like many "wood conditioning" sprays, you may need to clean the surface twice and let it dry longer.
-
Clean the surface
Wipe both mounting spots with isopropyl alcohol. Wait 60 seconds for full evaporation. Do not touch the cleaned area. -
Mark your position
With backing still on, hold the lock in place and mark each pad location with a pencil dot or painter’s tape corner. -
Peel and press
Remove backing, place precisely on marks, and press firmly across the entire pad for at least 30 seconds. -
Wait before testing
Do not open the cabinet for at least one hour. Allow 24 hours for a full cure, 72 hours before heavy stress. -
Test like a toddler
Pull straight out, then at angles from top and bottom corners. Check for any pad-edge lifting before relying on the lock.
Measure and Mark Before You Peel
The most common installation mistake is peeling the adhesive backing and then trying to position the lock. Once that adhesive touches the surface, you have very little time to adjust, and repositioning weakens the bond significantly.
Do all your positioning with the backing still on.
For strap locks: Close the cabinet door. Hold the lock in position with the door closed, so the strap is taut but not stretched. Mark the position of each adhesive pad with a small pencil dot or a piece of painter’s tape at the corner. Open the door and confirm your marks are where you want them.
For adhesive latches: The latch body mounts inside the cabinet on the frame, and the strike plate mounts on the inside of the door. Position the latch body first. Close the door slowly to find where the strike plate needs to land, and mark that position. Most latch packages include a positioning sticker for this step. Use it.
Take an extra 90 seconds here. Misaligned locks either fail to engage or put stress on the adhesive at an angle, which accelerates failure.


Apply the Adhesive Correctly
Most adhesive locks use 3M VHB (Very High Bond) tape or a similar acrylic foam tape. This adhesive is strong, but it needs pressure and time to cure fully.
Peel the backing and position the lock. Place it precisely on your marks. Press firmly with your thumb across the entire pad surface for at least 30 seconds. Not a quick press. Sustained, even pressure across the whole pad.
For strap locks with two pads: Do one pad at a time. Press the first pad, hold for 30 seconds, then position and press the second.
Do not open the cabinet for at least one hour after installation. Most adhesive manufacturers recommend 24 hours for full cure, and 72 hours before putting the lock under significant stress. I know that’s inconvenient. I know you want to test it immediately. Wait at least an hour for the first open, and avoid yanking on it hard for the first day.
Temperature matters during curing. Install in a room that’s at least 60°F (16°C). Cold slows the cure and weakens the final bond. If your garage cabinets are in an unheated space in winter, bring the adhesive pads inside to warm up before applying.

- Under-sink cleaning products, use drilled lock
- High-use cabinet, adhesive bond fatigues
- Medication cabinet, screws required
- Peeling finish, adhesive will not hold
Test the Lock Before You Rely on It
After the cure window, test the lock the way your toddler will attack it, not the way you’d politely open a cabinet.
Pull the door straight out. Then try pulling at an angle from the top corner. Then from the bottom corner. A properly installed lock should not flex or show any gap at the adhesive pad edges during any of these pulls.
If you see the pad edge lifting during the angle test, the bond is not secure enough. Remove it, reclean the surface, and reinstall with a new adhesive pad. Most lock packages include spare pads for exactly this reason.
Also test the locking mechanism itself. For magnetic locks, make sure the key disengages cleanly and that the lock re-engages when you close the door. For latches, open and close the cabinet 10 times to confirm the latch catches consistently.
My older daughter defeated a strap lock at 26 months, not by breaking the adhesive, but by figuring out that she could push the door inward slightly and slide the strap off the catch. That’s a design flaw in certain strap locks, not an installation error. If your lock has a loose-fitting catch, replace it with a model that has a more secure engagement.
Cabinets Where Adhesive Locks Will Not Work
Be honest with yourself about these situations. An adhesive lock that fails is worse than no lock, because it gives you false confidence.
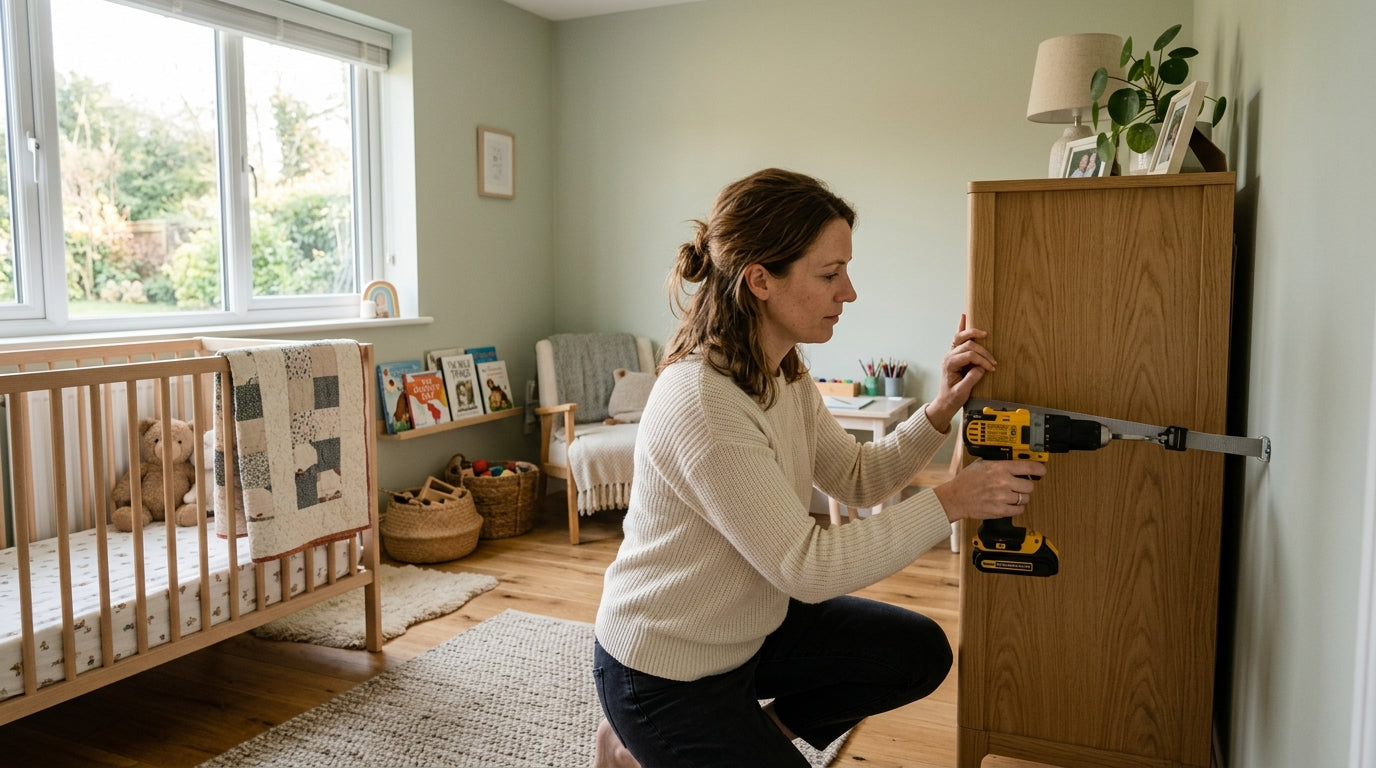
Cabinets that hold hazardous materials: Under-sink cabinets with cleaning products, any cabinet with medications, any cabinet with sharp tools. For these, use a drilled lock or a latch that mounts with screws. According to CPSC home safety data, cleaning products and medications are top causes of pediatric poisoning calls to poison control centers. Adhesive is not the right fastening method for your highest-risk cabinets.
Heavy-use cabinets: A cabinet that gets opened 30 times a day puts cumulative stress on adhesive pads. The bond fatigues. Use a mechanical lock.
Cabinets with a gap larger than 1/4 inch when closed: Strap locks can sometimes bridge a small gap, but a large gap means the strap will be under constant tension, which will pull the adhesive pads loose over time.
Cabinets with peeling or flaking finish: The adhesive will bond to the finish layer, and when the finish peels, the lock comes with it.
Maintenance and When to Replace
Adhesive locks are not set-and-forget. Check them monthly.
Run your finger along the edge of each adhesive pad. Any lifting or separation means the bond is weakening. Replace it before it fails completely. A pad that’s 80% attached will fail under the exact kind of sudden pull a toddler applies.
Cleaning products can degrade adhesive over time, especially near kitchen cabinets. If you clean your cabinet faces with anything stronger than mild soap and water, check the pads more frequently.
Most adhesive locks last 12–24 months before the pads need replacing, depending on surface type, humidity, and how often the cabinet is used. Many manufacturers sell replacement adhesive pads separately. Buy them when you buy the locks so you have them on hand.
When your child is old enough that the locks are no longer needed, most adhesive pads release cleanly with a slow, steady pull at a low angle. Warm the pad with a hairdryer on low for 20–30 seconds first. This softens the adhesive and reduces the chance of finish damage. If any residue remains, isopropyl alcohol removes it without harming most cabinet finishes.
A properly installed adhesive lock on the right surface is a reliable layer of protection. It’s not a substitute for supervision, and it won’t stop a determined three-year-old forever. But it buys you the seconds you need, and sometimes that’s exactly enough.